How To Setup A Mountame Frame
Welcome to your new Mountame Frame. Unearth the capabilities of Mountame’s ultimate protection for your collections. This guide will walk you through setting up your frame and get you started.
Unboxing and Setting Up
After opening the outer mail packaging proceed to remove the bubble wrap & shrinkwrap. Next place the frame glaze-side down on a freshly cleaned surface. It is important to avoid contaminants near your frame while disassembling so we recommend wearing single-use gloves (to avoid marking and natural skin oil contamination) and having a pair of tweezers at hand – if needed.
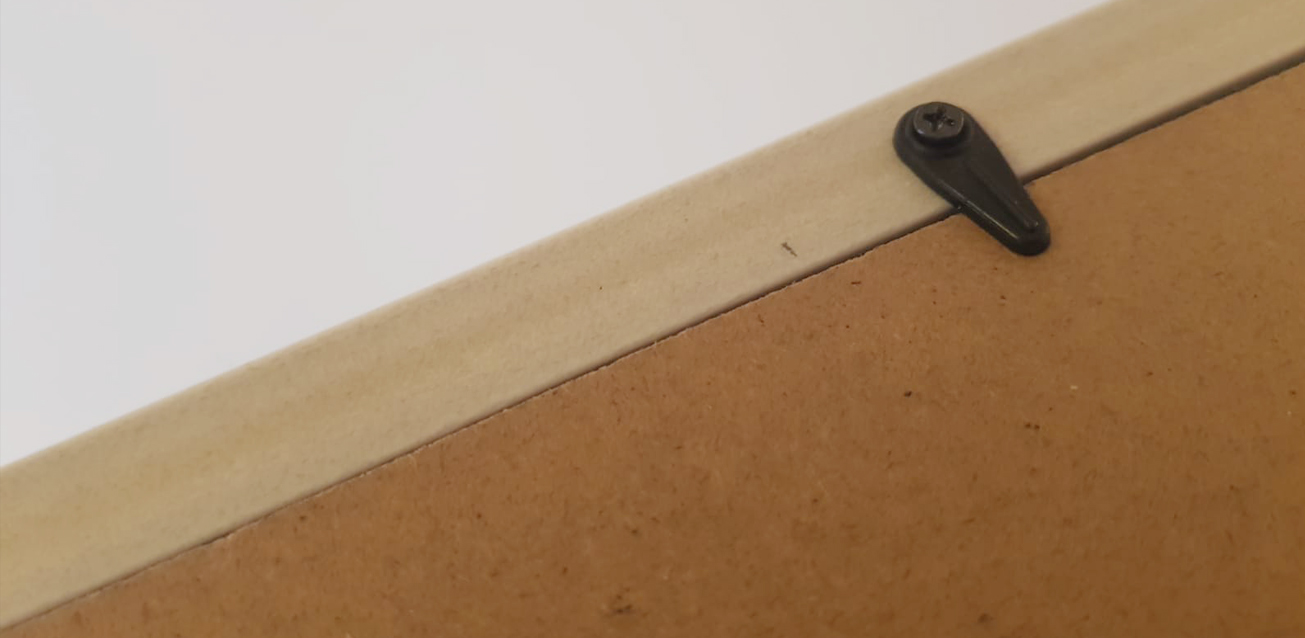
If your frame has turn screws, twist them 90 degrees to align them with each frame side otherwise, gently bend the metal tabs like a standard frame to release the backboard. Make sure to place the backboard on a clean surface away from any dust.
Next, remove each layer one by one, the rear mount layer first (a sheet of foam or card), then the InvisaWallet™ or PocketFoam™ unit and finally the surround. Some layers may be secured by additional metal tabs to keep it rigid.
Extract the styrene or Plexiglas Gallery UV100 glaze and peel off the protective film.
Place this back in the frame and put to one side. Again, try your best to keep away from any possible contamination. If you find your glaze has static buildup, wipe very gently with a clean high-quality microfiber cloth.
Setting up your Mountame Mount
Using InvisaWallet™
Place your InvisaWallet™ aperture-side up, on a clean dust-free surface. Depending on what you are framing, either:
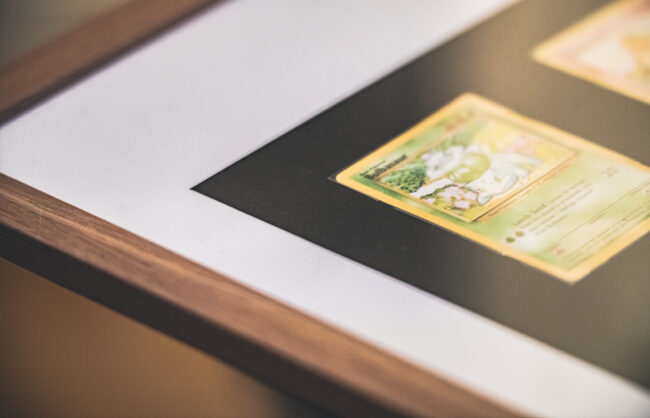
- Extract the InvisaWallet™ “M” branded Insert and stack your item on the unbranded side ready to place in the frame. Slide the Insert along with the item your framing placed atop – partitioning the article from the backboard. This method of insertion is particularly helpful at reducing the possible edge graze when dragging a card across a rough surface such as that caused by trading card binders.
- Leave the InvisaWallet™ insert situated within and place the item between the InvisaWallet Film and Insert using tweezers or gloved hands. This method is particularly good for stamp stocks.
Using PocketFoam™
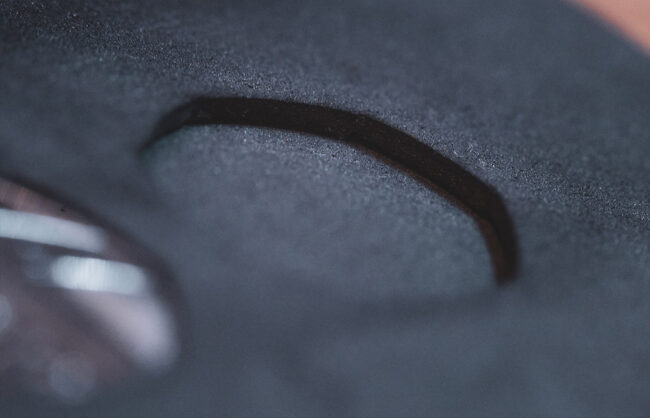
Place your PocketFoam™ on top of the surround & glaze within the frame. Place the 3D items into their pocket slots. There might be a slightly snug fit but this is good to hold your collectable in place.
Getting it ready to put it on the wall
In the same order as removed, combine the layers face down together in the frame. If the frame has turn buttons, remember to anchor down the layer proceeding the surround with the metal tabs. Once packaged together, twist the turn screws 90 degrees or gently bend down the metal tabs into place. Sometimes the use of a flat metal object such as blunt cutlery kife can aid in pushing these down. Please don’t push them too hard as this will cause wear on the tabs and backboard.